


Refresh Your Home with Spotted Gum Timber Refinishing
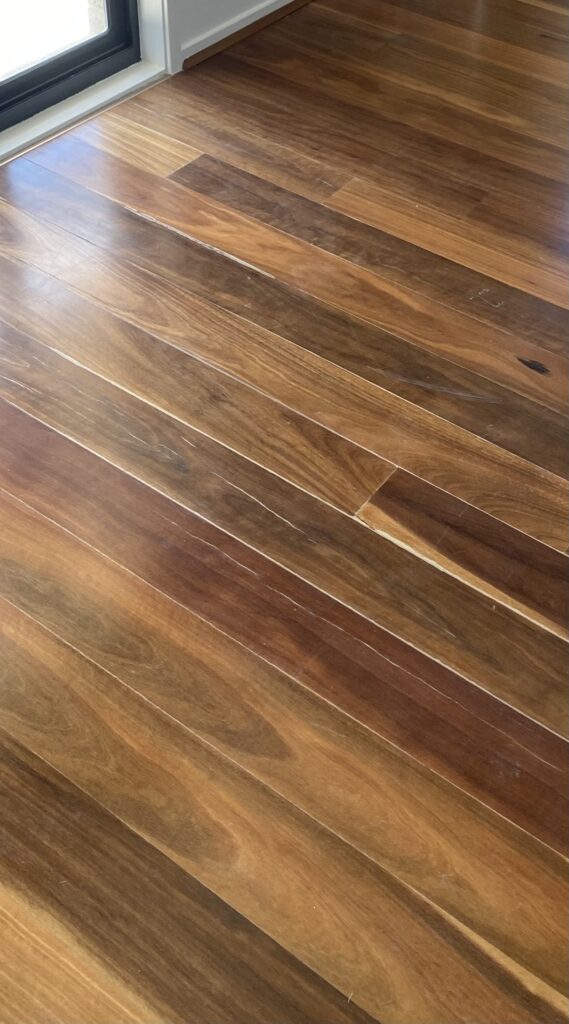
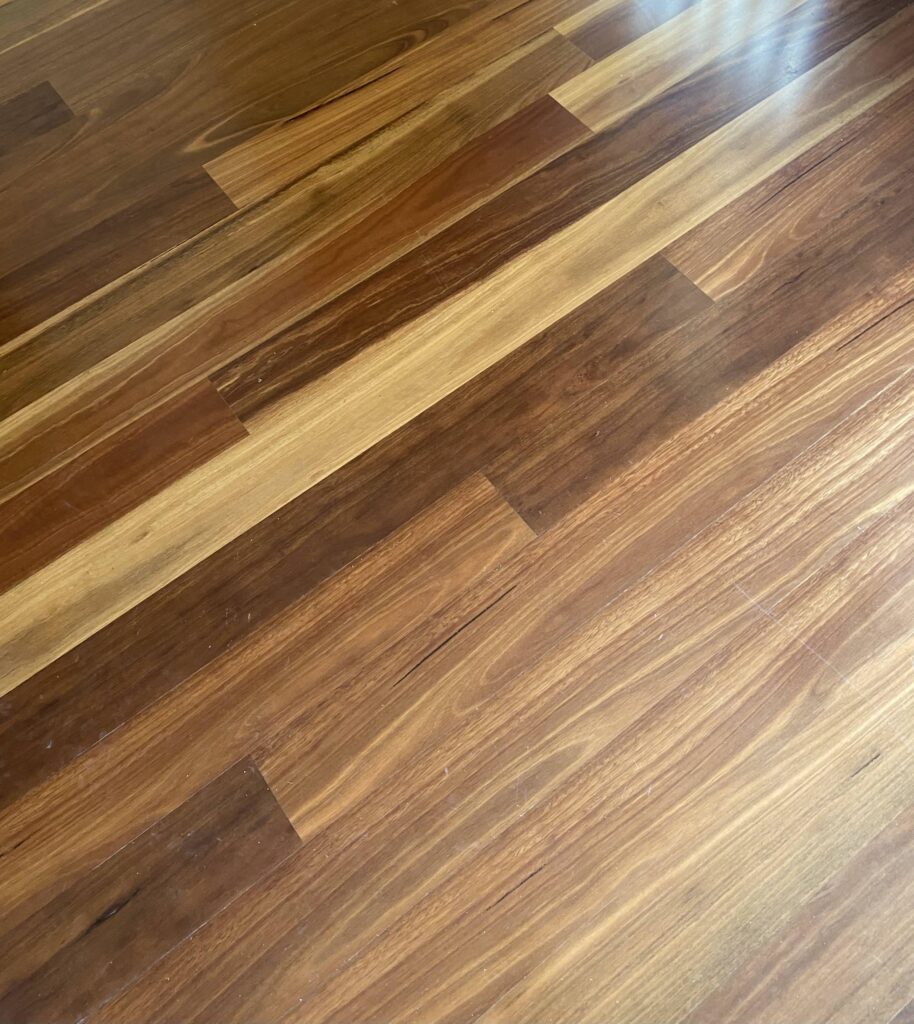
Project Overview: The Condition Before Refinishing
Are your spotted gum timber floors looking worn and tired? Whether you’re a homeowner, real estate agent, or builder, transforming dull and scratched floors can add significant value to a property. Our case study of a recent project in Canberra showcases how spotted gum timber refinishing can restore the natural beauty and elegance of your floors.
Project Overview: The Condition Before Refinishing
The home we worked on featured beautifully aged spotted gum timber floors that had seen better days. Years of foot traffic, sunlight exposure, and general wear had left the floors dull, scratched, and discolored. These floors had lost their natural glow, and the homeowners were eager to restore their original charm.
Key Issues Identified:
- Surface Scratches: Widespread light scratches from foot traffic and moving furniture.
- Faded Finish: The once-rich colors of the spotted gum were faded due to UV exposure.
Before Photos:
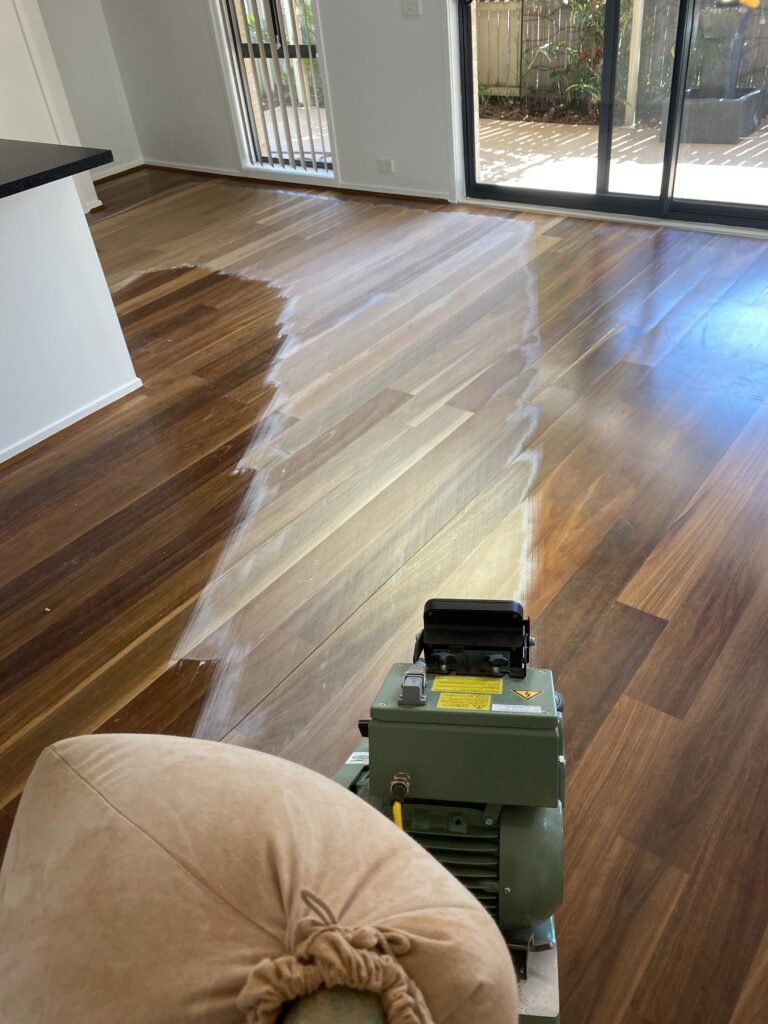
Step-by-Step Guide to Spotted Gum Timber Refinishing
Refinishing spotted gum timber floors requires precision, the right tools, and a keen eye for detail. Below is the process we followed for this specific project:
1. Initial Inspection and Preparation
Before starting, we conducted a thorough inspection to identify problem areas. We assessed the floor for structural issues and areas needing extra attention.
- Cleaning: The first step was deep cleaning to remove dirt, dust, and debris. A clean surface is essential for effective sanding.
2. Sanding the Floors
The sanding process was critical to removing the existing, worn-out finish and smoothing out scratches. We used a three-stage sanding method:
- Coarse Sanding: To remove the old finish and tackle deep scratches.
- Medium Sanding: To smooth the surface after coarse sanding.
- Fine Sanding: To prepare the floor for the polish, ensuring a flawless finish.
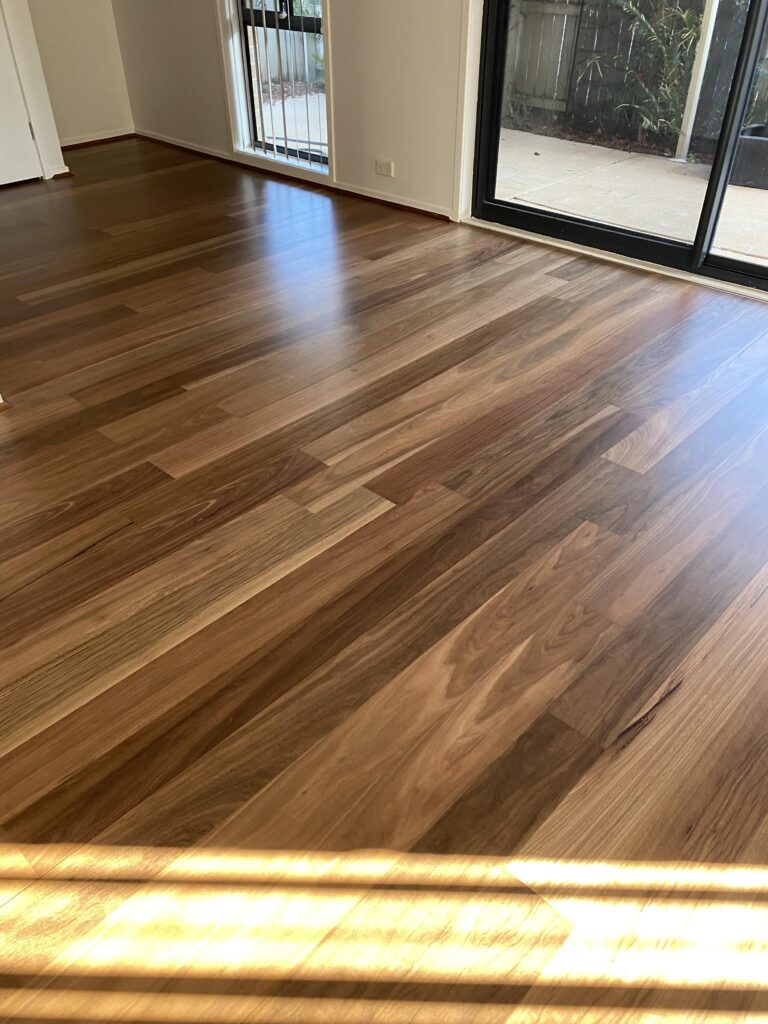
3. Polishing
Once sanding was complete, we applied a water-based polish for an eco-friendly and quick-drying finish. This polish highlights the natural hues of spotted gum timber, offering a slight sheen without overpowering the wood’s grain.
- First Coat of Polish: Applied evenly across the floor, enhancing the timber’s rich color.
- Buffing: After the first coat dried, we buffed the surface to smooth out any inconsistencies.
- Second Coat of Polish: A final layer was applied to ensure maximum durability and a beautiful finish.
4. Drying and Final Inspection
The floor was left to dry for 24-48 hours before any furniture was moved back. We conducted a final inspection to ensure the finish was even and flawless, and the transformation was complete.
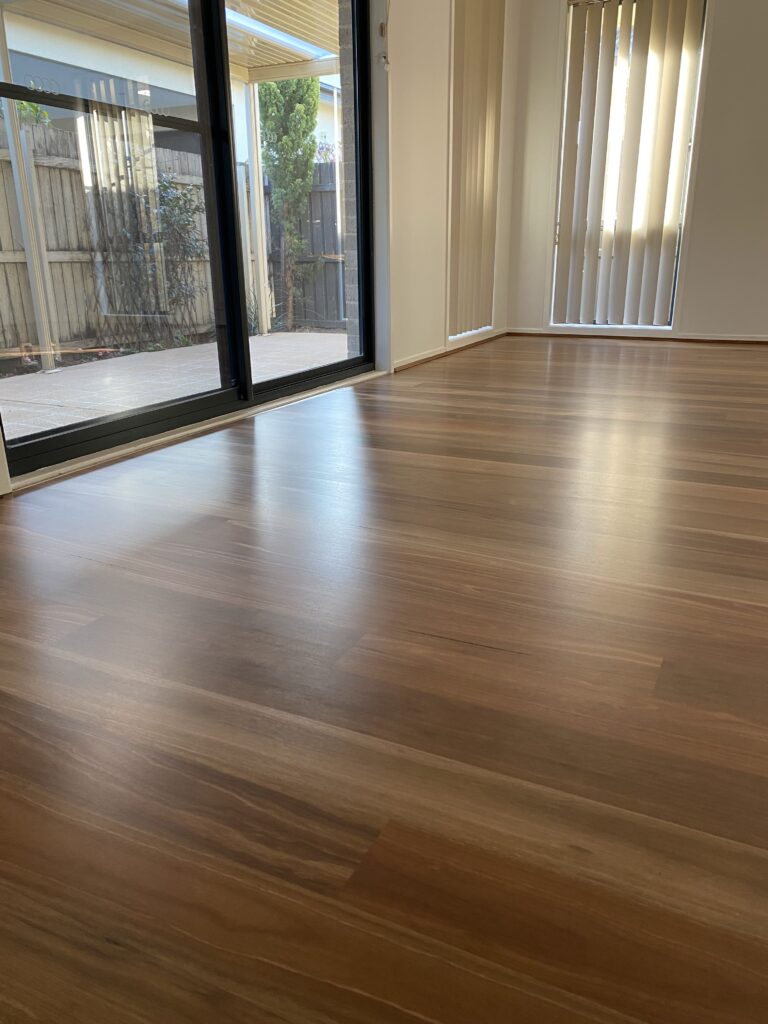
After Photos:
Transform Your Space with Spotted Gum Timber Flooring Canberra
Whether you’re looking to enhance your home’s aesthetic appeal or prepare a property for sale, spotted gum timber refinishing in Canberra offers a sustainable and stylish solution. Contact us for expert guidance and quality service that brings out the best in your timber floors.
For more information on how we can transform your space, please contact us today!